|
Page 1 |
|
Bias Basics |
|
|


 |
Once the fabric is grain perfect, you're ready to cut. To avoid distorting fabric, work on a large, flat cutting surface. For better control, cut your garment single layer. Use tissue paper or nonwoven pattern duplicating material to reproduce the necessary pattern pieces.
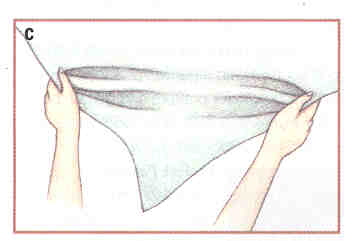
 Technically, a woven fabric has two bias grains - one that angles to the right, the other to the left. If all fabrics had the same number of threads per inch in the lengthwise and crosswise directions, these two biases would behave in exactly the same way on the same piece of fabric. The fact that this is rare explains why, even careful handling, one side of a bias garment may stretch more than the other. For corresponding right and left garment sections, how you place the pattern on the fabric can minimize this problem. If your fabric has a right side and a wrong side, place the right and left pattern pieces at right angles to each other. (D)
When it comes to bias, a few "extras" at the layout stage will make the sewing part easier.
Increase all seam allowances to 1½" (3.8cm) to allow for any fitting adjustments caused by the stretching of the bias. When fabric is cut along the bias, the intersecting threads fan out, elongating the cut edge. Moving the stitching line farther away from this "expansion" will help eliminate rippled seams later on. This extra seam allowance will come in handy if you decide you want a slightly looser fit.
Before laying out the fabric, cover the cutting surface with a layer of tissue paper. (Smooth-surfaced examining table paper, available in rolls from medical supply stores, is an easy-to-use, economical version of tissue paper.) pin and cut through both layers. Leave the paper stabilizer intact until appropriate seams have been staystitched.
Mark all stitching lines before removing the pattern from the fabric. Thread tracing, chalk or tracing paper (also called dressmaker's carbon) and a tracing wheel are good choices.
Stitching
The key to successful bias sewing is to work with the stretch, not against it. Begin by staystitching any seam that will not hang vertically on the finish garment. This includes necklines, armholes, waistlines and asymmetrical seams. Do this before removing the stabilizer.
Garments cut on the bias fit differently than garments cut on straight grain. It is wise to baste the garment together, allow it to hang for 24 hours, and try it on before doing any permanent stitching. Hand-basting, using the follow technique, is essential. It guarantees accuracy for a good fit, and it provides the "give" to stitch ripple-free seams.
Vogue Patterns July/August 1997