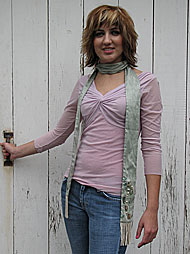
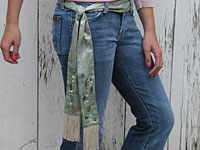
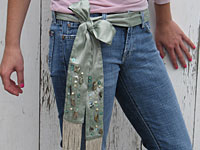
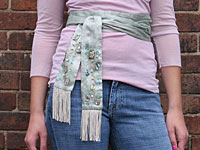
The scarf is still the most important accessory in fashion. Add some instant style and “bling” to your wardrobe. Make it in a neutral color to blend with lots of your clothes, or choose a fabric that makes a statement. It’s so easy to wear: tied or draped around the neck; worn like a belt at or below the waist; or used over a shirt like an obi sash. Just let your imagination and sense of fashion take over!
Assorted glass beads, stones, shells, and sequins in complementary colors
Thin beading needle and thread
Instructions
Note: 1/2” seam allowance.
1. Cut two pieces of fabric 5-3/4” x 45”.
2. Cut both pieces 38” long.
3. Right sides together, sew the 5-3/4” wide ends.
4. Press seam open.
5. Fold scarf in half lengthwise, wrong sides together, and press.
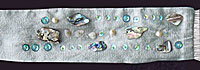
6. Open scarf. At one end of scarf, arrange beads, stones, shells, and sequins between seam allowance and pressed fold line. (See photo at right placement.) Attach all beads and ornamentation.
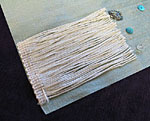
7. Cut two 2-1/2” pieces of fringe.
8. Place header of trim at one end of scarf with fringe placed over beads. Sew in place. (See photo at right.)
9. Repeat step 6 with opposite end of scarf.
10. Fold scarf in half lengthwise, right sides together.
11. Pin and sew ends and sides leaving a 4" opening along the side.
12. Turn scarf right side out through opening. Press lightly from the back side of scarf.